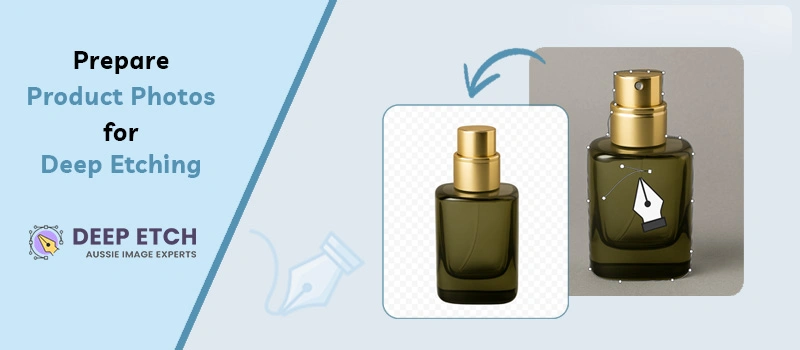
Deep etching is the most precise way to remove and replace backgrounds in product photography. To get the best deep etching result, you need to provide a standard image. Otherwise, the most skilled editor can’t work properly on poorly shot images.
Preparation is the key to getting professional results in product photography. That’s why Deep Etch Australia will share how to prepare product photos for deep etching. It will help you to start with a solid foundation.
You can sell on Amazon, eBay, and your own online store in Australia with confidence.
7 Effective Ways to Prepare Product Photos for Deep Etching
1. Choose the Right Camera and Lens
2. Use Proper Lighting
3. Don’t Waste Time On Background
4. Keep The Camera Stable
5. Product Placement
6. Take Multiple Shots
7. Minimise Reflections
1. Choose the Right Camera and Lens
If you do this properly, the ultimate quality of your product photography increases significantly. The quality of your camera and lens has a big impact on the final result. Higher resolution images give editors more pixels to work with. They can create paths more accurately.
You will get more detailed cutouts. DSLR and mirrorless cameras are ideal for professional product photography. You can also capture them with the latest Smartphones. iPhone 15, iPhone 16, iPhone 17, Samsung 23, Samsung S24, Samsung S25 series are good enough. You should avoid wide-angle lenses for small products.
2. Use Proper Lighting
Lighting is everything in photography. Sometimes shadows make it difficult for the editors to create a precise path. You can avoid that by using proper lighting. Poor lighting makes deep etching almost impossible to get perfect. Natural light is the best option.
If you have to use an artificial light source, you can use soft light. You must avoid harsh shadows and reflections. Shadows are common for shiny and glass products. So, place such a product at an angle that produces the lowest shadow. Consistent lighting across all shots ensures better results.
3. Don’t Waste Time On Background
Many photographers delay their photo shoot session in search of a perfect background. When you get the Deep Etch Service in Australia, you don’t have to worry about the background. You just need a contrasting background.
Later on, you can change the background to any suitable background.
So, don’t waste your time on the background. You can capture all the images on the same background. You just need to avoid busy patterns. It’s difficult for editors to trace edges accurately from a busy pattern background. For reflective items, a neutral background helps maintain edge definition.
4. Keep The Camera Stable
Blurry images are impossible to deep-etch cleanly. So, you must keep the camera stable while taking photos. A tripod is the simple solution to that. Use a tripod on a stable surface to eliminate camera shake. Also, you should adjust shutter speed, ISO, and aperture to get clear photos.
Sometimes small movements make edges appear fuzzy. That slows down editing. The clearer you get the image, the better the deep etching result. Our editors zoom in on the image 300% to deep etch the image perfectly.
5. Product Placement
Product photographers and online sellers should be careful about the product placement. How you position your product affects how easily editors can trace it. You have to place the product to clearly show its shape. The details and important features should be visible.
Some online sellers use props to make the image attractive. But Amazon Australia suggests keeping the image minimal. You should not use unnecessary props. Correct positioning makes every curve properly traceable. Proper visibility is a must for precise deep etching.
6. Take Multiple Shots
Don’t stick yourself as a photographer with a single shot. More images give editors options for the best cutouts. Professional photographers capture products from different angles and distances. You can include close-ups for intricate details like chains, lace, hair, and transparent edges.
Getting multiple shots will help you maintain accuracy and speed up the deep etching process. In the beginning, you may find it difficult to explore different angles. Once you get used to capturing different products, you will be able to find creative ways to take multiple shots.
7. Minimise Reflections
Reflection is a big concern for deep etching. When you are working with shiny products and glass surfaces, it’s very common to get unwanted reflections. How to avoid that? You can use polarising filters on your camera lens. Also, you should adjust lighting angles to soften reflections.
Professional photographers always avoid unwanted light bounces on the product. That’s why their photographs look sharp after deep etching. To get high-quality outcomes, you also have to maintain the same.
Wrap Up
Product preparation is more important than most of us assume. Properly prepared product photos make deep etching more accurate. Now, you should have a better idea of how to create product photos for deep etching.
Want perfectly etched product photos without any hassle? Our Deep Etch team provides 100% manual, high-quality deep etching services. Let’s get your free trial today and see the difference.
FAQ’s
What kind of background works best for deep etching?
Contrasting backgrounds, such as white and grey, are the best option for deep etching. You should avoid patterned backgrounds. It makes tracing edges difficult.
Can I use a smartphone to shoot photos for deep etching?
Yes, modern smartphones have good-quality cameras. They can capture sharp, high-resolution images. But sometimes a little detail can make a huge difference. You should try to use DSLRs and mirrorless cameras.
Do I need multiple shots of the same product?
Taking multiple angles of detailed areas helps editors achieve more precise cutouts. But it’s not mandatory. Our editor can deep etch an image from a single shot.